Always something to keep us busy...
Building Garden Beds......
Sifting soil to remove weeds...
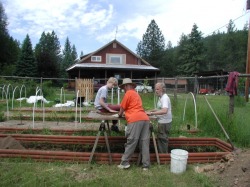
1st, we measured out and marked the size of bed we wanted to build using string and pins. This one was 4 feet by 24 feet for a nearly 100 square foot bed.
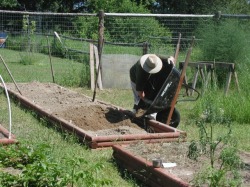
Next we removed the sod (using shovels, NO rototiller to shred the plentiful crabgrass roots) and dug a trench about 14 inches deep within the string and pin markers, setting the soil aside to run thru a 'sifter' to remove weeds and rocks and more rocks (Rocky Mountains? ;). Which is what we're doing here, in this picture. THAT was a LOT of WORK! BUT it really did pay off afterward.
After that, the frames were built using 8 foot long landscape timbers*. For each 24 foot bed we needed 21 timbers. 3 of these timbers were cut in half for the ends of the bed because we only wanted them to be 4 feet wide which was easier for me to reach halfway across than a wider bed would have been.
These were then laid out over lapping each other for strength and nailed together for a completed frame. Pictures of this are here. 5 inch nails worked best. Shorter nails didn't hold them together good enough.
With the frame in place over the trenches, we sifted the soil back into the trench. This sifting process removed most of the weeds, roots (crabgrass is awful to try to remove! Especially after a rototiller) and the plentiful supply of the rocky mountains.
Recently I spoke to a lady at the hardware store that told me "if you toss crabgrass on the fence, it's shadow would grow!" I think she just might be right about that!
*We used landscape timbers that were stained but not treated. These were found on sale at our local lumberyard. You could use a number of other materials limited by your imagination. I put sides on the raised beds to stop water from washing the soil out of the beds every time I watered them. But you really don't have to have sides.
Nice and smoooooth...
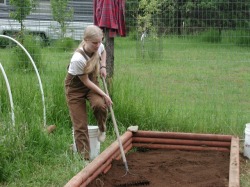
Here is dear daughter smoothing out the sifted soil in the frame.
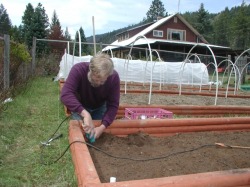
Attaching clip holders...
Since our garden season is fairly short at about 90 days, I wanted to figure out a way to extend it at least 2 weeks on each end of the season, Spring and Fall. I also, from experience knew that if I used plastic laying directly on the plants to protect them from frost, that the plants get frostbite wherever the plastic touches the plants......
So, I came up with an idea that worked fairly well.
We purchased 10 foot lengths of 1/2 inch PVC pipes to use for hoops that were removable. Then we had to figure out how to hold them in place in the soft soil where they tended to lean one way or other when covered especially if there was a breeze. So we purchased 3/4 inch PVC pipe which we cut into 6 inch lengths which would allow the 1/2 PVC to slip easily down inside for a snug fit. These were held in place using U shaped metal conduit straps, normally used for holding copper waterlines in place in home construction. These straps, were screwed to the inside of the of the timbers* at 4 foot intervals, making sure they matched on both sides of the beds so the hoops would fit properly. Click the picture to see one in place. We put one on the top timber and one lined up just under it, on the middle timber, for stability when the hoop was put in position.
*We considered the putting these on the outsides of the beds for easier maintainance but I figured I'd knock them off the 1st time to took my wheelbarrow or wagon between the beds.
Adding topsoil...
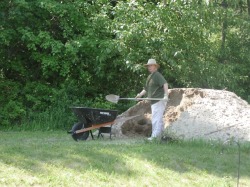
Next we added topsoil. A 10 yard truckload was $65 delivered and filled a little more than 6 of the 96 square foot raised beds.
and getting dirty!
The topsoil was put down over the top of the sifted soil, then mixed together with a garden fork. In the fall after the growing season was over, we added chicken manure from the henhouse. Then later we tested the soil for NPK and PH. We found out that we really needed to raise the PH level so we added a bale of peat moss to each bed. We'll need to add more eventually.
1200 square feet of growing space!
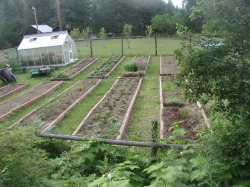
Here we have put in 10 beds, 4 x 24 feet each. Later on, we added 7, 4 x 8 beds adding 224 square feet of more growing space for a total of nearly 1200 square feet of actual growing space! This isn't counting pathways between the rows, the bed inside the greenhouse, nor the one added to the outside of the greenhouse. If we added pathways and the greenhouse to the figures, we have 3600 square feet of garden space.
Imagine how much space it would have taken and how long the rows would have to be if we used the row method of gardening!
Imagine how much space it would have taken and how long the rows would have to be if we used the row method of gardening!
Basic garden tools for a simple garden

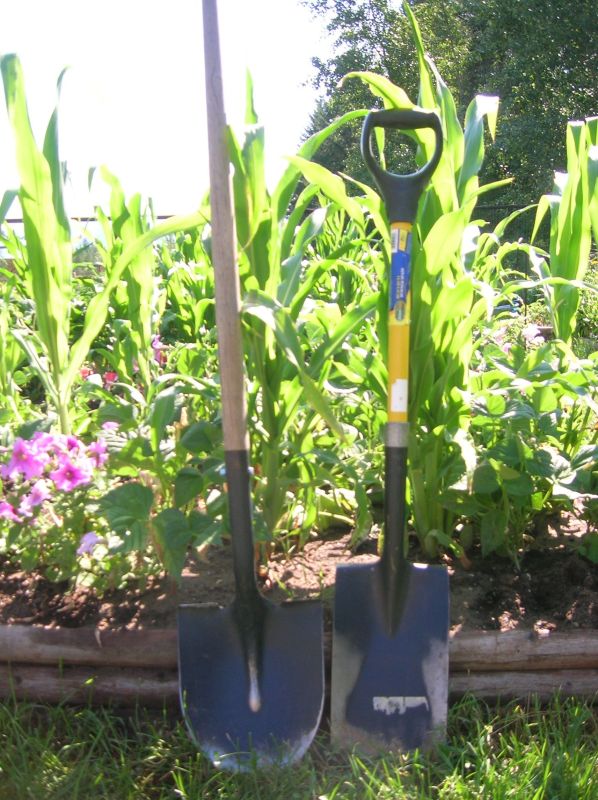
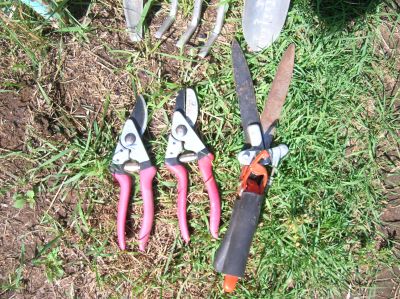
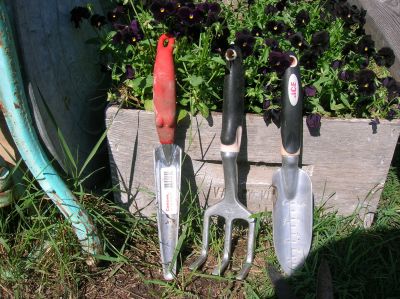
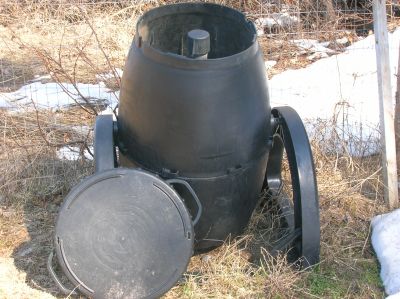
These are the basic tools I use. Note: there is no rototiller or other gas powered device. Ok, my husband does use a gas powered lawn mower and an electric weedeater between the beds. But for working with the beds, this is it. The composter is really not necessary but I use it to keep the weeds out of my compost pile.
|
CURRENT MOON |
The Garden's rewards click here
Garden 2010

photo coming soon
2010 has begun but the garden season is just a dream this early in the year... planning, perusing (seed catalogs), dreaming.....
Time to start the garden seeds indoors in flats... HERE
Time to start the garden seeds indoors in flats... HERE
Critters
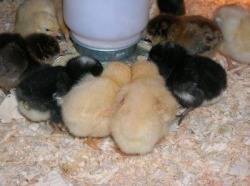
This year we bought baby chicks! Lots of them! Here are just a few!

Click photo to go to In My Kitchen
And there's more work to do ....
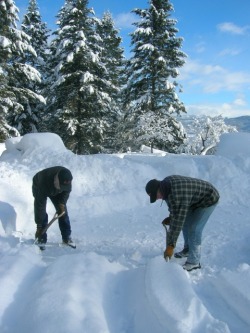 |
<---Shoveling snow out of the driveway...
|
|
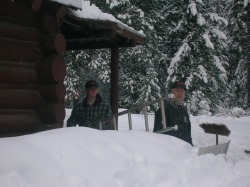
Shoveling snow by the porch so we can get a ladder up to......see below
|
 |
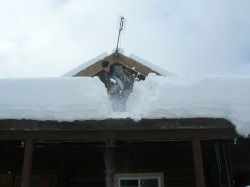 |
<---Shovel snow off the roof! Of course!
Did I mention anything about snow shoveling??? |
|
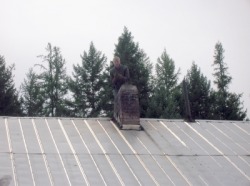
Our son, turned from snow shoveler to chimney sweep for the day.--->
|
 |
